When it comes to experiments that you can do at home, there are plenty of fun options for kids and adults alike. Growing salt crystals is one of those experiments, which is an excellent choice for teaching scientific concepts or just having some cool decorations to admire. Either way, for those who want to try, we have the guide to how to make salt crystals right here!
Supplies
To make your own salt crystals, you'll need:
- Salt
- About half a cup of water
- Saucepan
- Spoon to stir with
- Glass jar
Optional equipment includes a string and a pencil so that you can have crystals growing on a string. You may also potentially need tape to help attach your pencil to the jar.
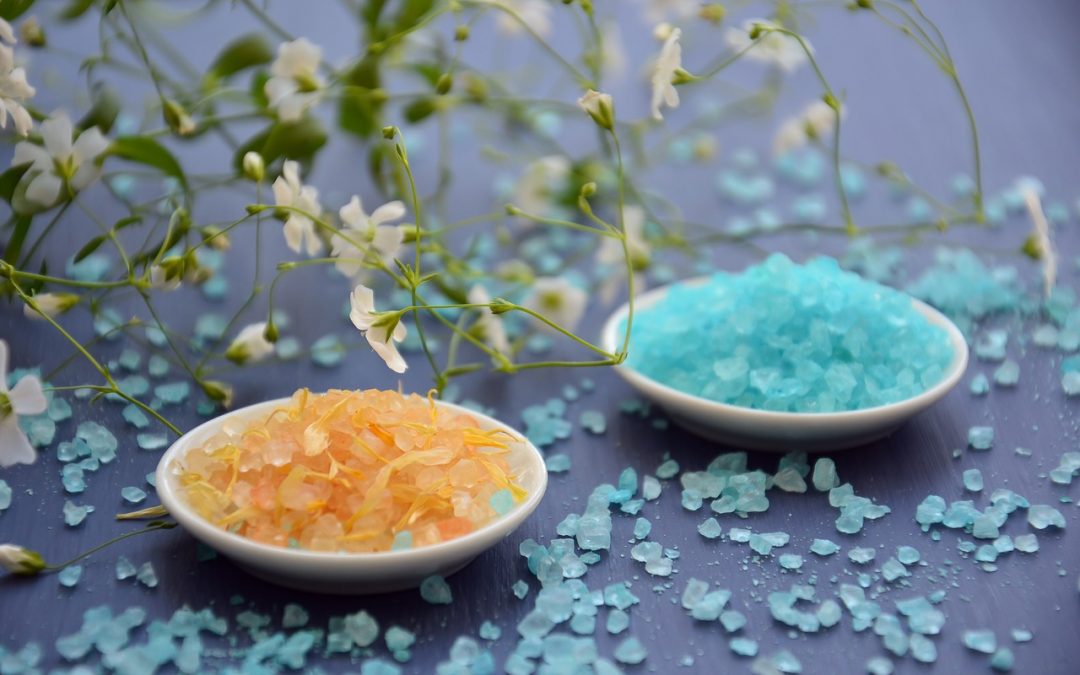
For fun variations on this experiment, you can also use food dye to make colored crystals or try out different types of salt. Recommended kinds include Epsom, alum, and table salt, though iodized salts don't make as large of crystals as the other types.
Another essential preparation for preparing to make homemade salt crystals is to ensure that your glass jar is as clean as possible so that the majority of your crystals form on your string, rather than on any debris left in the container.
The groundwork out of the way, it's time to get started!
Step One: Heat Your Water

Via Pixabay
You'll start by pouring your water into your saucepan and heating it over the stove. You want to warm your half cup of water until right before it starts to boil, then remove the pan from the heat. Kids who want to try this experiment should ask for an adult's help so that they can safely handle the hot water.
For best results, you should use distilled water. However, using regular tap water won't have a significant impact on the experiment.
Step Two: Add as Much Salt as You Can
After your water has heated up, you can start to add salt and stir it in until the water is clear. You want to continue going until the salt no longer dissolves into the water. You can tell when this happens if you can still see salt grains left over after stirring. Usually, this process can take anywhere between one-fourth and one-half of a cup of salt.
The salt grains are a sign that you've created a supersaturated solution—the water can no longer hold any more salt. This state is essential to forming crystals, which will develop as the water starts to cool.
Step Three: Move Your Solution to Your Jar
Before the crystals start to form, though, you want to pour your supersaturated solution into your glass jar. It's also acceptable to substitute a glass container for another one that is heat-safe; we don't recommend using plastic ones instead. Be careful as you pour so that you don't accidentally spill the hot water.
If you plan to let your salt crystals form naturally, you can pour the entire solution into the jar. However, if you want them to grow on your string (as outlined in the next few steps), you should try to avoid letting the salt grains still in your saucepan into the jar, as they can form the base for salt crystals as well.
For those who want to color their crystals, this stage is an excellent time to add food coloring to your solution. Food dyes can make your crystals slightly smaller than they would be otherwise, but it's a worthwhile trade-off for a different look.
Step Four: Set Up Your String (Optional)

Via Pixabay
It's possible to add a string to your jar, which will then give the crystals a place to start to form; a rough cord with tiny grooves is best, while something as smooth as a fishing line won't provide as many grooves for crystals to form. Tie one end of your string to your pencil (or any other stick the right size to fit on top of the jar).
After you've completed this process, you need to cut the string to a length that lets it hang into the jar without touching the bottom, which can impact the size of your crystals.
Once your string is the right size, you can lower it into the jar and rest the pencil across the top. For extra stability, you can tape the stick to the rim so that it doesn't move out of place if bumped.
Step Five: Move Your Jar Somewhere Safe
Your jar is now ready to form crystals. Since it's a supersaturated solution, your water mixture is unstable, and letting it cool down will cause salt crystals to form. This process is because cold water can hold fewer solutes (such as the salt) than the same amount of liquid at room temperature. As the solution cools, the salt will reform. As the water slowly evaporates, it also leaves behind the salt—as crystals.
However, to get the best results, you don't want your jar to be in constant movement. Pick a safe place where young children or pets won't be able to bump into it or knock it over. Depending on the results you want, the best place may vary.
For one single, giant crystal, keep your jar in a shaded and cool place. To help protect from vibrations, you can also place a Styrofoam pad beneath the container.
A fast-growing chain of smaller crystals will form in direct sunlight or with a fan blowing on it (use the lowest setting).
Some salts, like Epsom, grow much faster in places like the refrigerator than they do in the sun.
Don't be afraid to try out different conditions to see what types of crystals form!
Step Six: Wait
You've done all the work of preparing your solution; all that's left is to wait for science to do the rest. As mentioned, the water cooling will ultimately separate the salt from the water, allowing crystals to form. This development will take time, so it's essential to be patient.
The type of salt you used can also impact the speed of crystal formation. Table salt can take up to a week to have visible crystal formation, while alum and Epson salts can start as early as a few hours. The smaller crystals continue to grow during the following weeks.
It's up to you how big you let them grow. You can continue to add more of your supersaturated solution to allow your crystal to grow bigger.
And with that, you now know how to make salt crystals at home!
Alternate Ways for DIY Salt Crystal Fun

Via pixabay
Once you know the basics of how to make salt crystals, plenty of options are available to you. Here are some different approaches you can use to build a crystal garden or decorations.
Create a Larger Crystal Using a Seed
If you want to form a giant crystal, your best approach is to create a "seed"—a smaller crystal that the forming crystals can grow on. To start, use the above option, but don't place a string into the jar. You'll begin to have several smaller crystals form in the solution. Select one that is at least the size of a pea and isn't attached to others.
That crystal will become your seed. Your next step is to tie a string around it; this time, you want a smooth one, such as fishing wire, so that crystals attach to the seed. From there, create a new solution and hang the seed inside of your jar without letting it touch the bottom. Use something like a coffee filter to prevent dust from getting inside.
This method of growing salt crystals is tricky, but it can be worth effort to have a sizable result to show off. You can use clear nail polish to prevent the crystal from becoming damaged or changing shape.
Try Different Base Materials
Salt is just one of the available substances out there that can form crystals; it's possible to get results with materials like copper sulfate. You can use these materials on their own, or in combination with each other to see what effects occur. Salt crystals usually form colorless without any dye, but these materials can be blue, purple, or others.
However, not all substances that crystalize or safe for children to handle on their own. If you want to try a different method, be sure to research all safety precautions thoroughly beforehand.
Use Pipe Cleaner or Rough Wires to Create Art
Having crystals form on a string can look interesting, but you don't have as much control over the shape. Pipe cleaners and textured wires, on the other hand, are pliable to shape and happen to be the right texture to let crystals form on them. Twist the wire into shape, then add it to your solution hanging from a string to have a sparkly decoration or unique gift for someone! The only limit is your creativity.
Featured Image Source: Pixabay